
The jQuery file upload plug-in
In this tutorial, I am going to share a nice plug-in for uploading files that uses a jQuery.
If you are using jQuery and your project is based on Bootstrap then it is really a light-weight plug-in that enables your users to select multiple files.
Not only multiple files can be selected but unlike ordinary-looking file upload buttons, this cool plug-in displays the thumbnail of image files and other file icons like pdf, word document etc.
Another important feature is the drag and drop option. So, the users may either select multiple files by using the button or use the drag and drop facility.
A demo of using jQuery upload plug-in
Click the image or link below to open the demo page. There, you can see a button for selecting multiple files (one by one) or use the drag and drop facility:
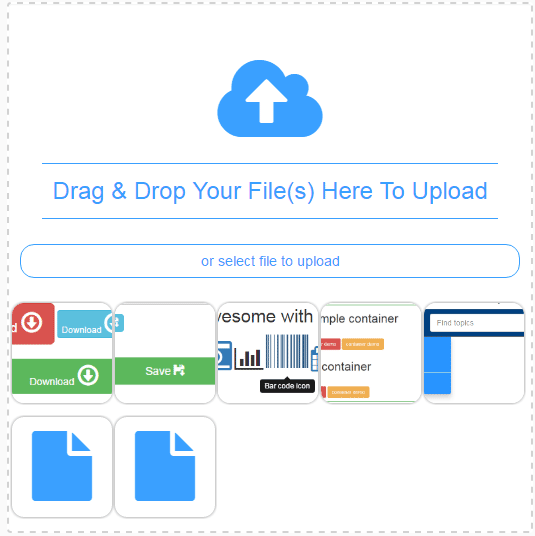
See online demo and code
The simple markup:
        <div class="container">

            <form>

                <input type="file" multiple>

            </form>

        </div>
The jQuery code:
        <script type="text/javascript">

            $(document).ready(function() {

                $('input[type="file"]').imageuploadify();

            })

        </script>
You may get the complete code from the demo page.
For setting up this plug-in, you need to include the Bootstrap CSS, jQuery and Bootstrap JS files along with the plug-in JS file.
The plug-in JS file including other files in the package can be downloaded from the Github website here. You may also get this by “View Source” the demo page and locate the imageuploadify.js file. Right click on it and download in your system.
Once all files are selected by the user, you may use PHP or other scripts to get those file names and upload at the specified location. I have written a simple script at the bottom part of this tutorial for uploading files/images by using PHP.