
The Git commit command is used to record the changes in the local repository. For example, you added new files, modified the existing files, removed files etc. and you want to update the online repository with the changes made.
Before doing that, you have to commit the changes in the repository and then update the online repo. A simple commit command example can be:
$ git commit -m “A message for this commit”
Where –m switch specifies the message.
The following section shows you using the commit Git command with various available options.
A simple example of the commit command
In the first example, I will add a new file in our local repository by using the git add command which is followed by using the commit command with a message and then pushing changes to the online repository.
Adding a footer.php file:
$ git add footer.php
Committing the changes i.e. addition of a file:
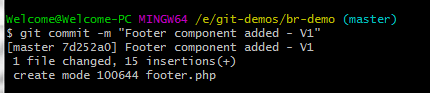
$ git commit -m “Footer component added – V1”
The Git Bash output after executing this command:
Pushing the changes to the online repo in Github:
$ git push origin master
The result in online repository:
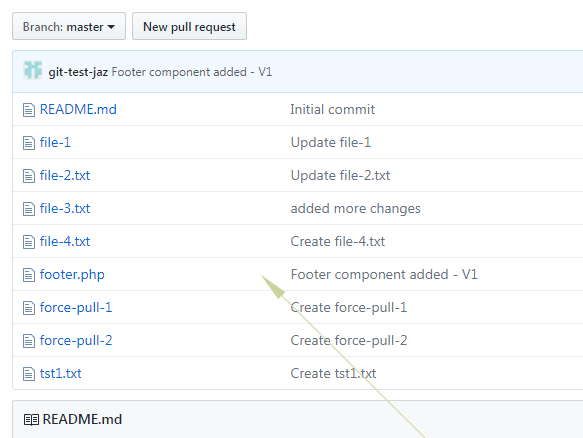
You can see, the footer.php is added in the remote repository with the commit message we provided at the time of running commit command.
You may also notice the same SHA-1 shortcode with the commit on local and remote.
How to change the commit message by –amend?
If you require changing the message of the last commit, you may use the –amend option of the commit command. This may be required for many reasons e.g. fixing the typos, more detail required etc.
The following example shows changing the above commit message from:
“Footer component added – V1”
To
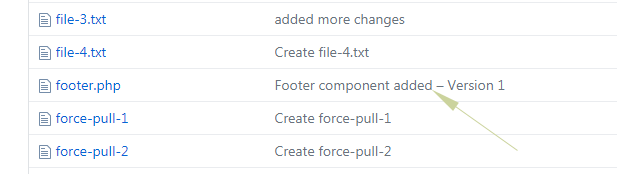
“Footer component added – Version 1”
The command:
$ git commit –amend -m “Footer component added – Version 1”
After pushing changes to the online repo, the updated commit message looks in Github as shown below:
The example of using –a option in commit
The –a option of Git command is useful if you have made changes to existing files and want to commit changes without running the Git add command on all those files.
For example, we have footer.php file in our repo and a few text files as well. I made a few changes on footer.php and removed file-2.txt by using the git rm command.
Now, for committing changes, you have either require running the add command for footer.php (and all other modified files):
$ git add “footer.php”
Alternatively, just run the commit command with –a switch and all modified and removed files will be handled for the commit. For example:
$ git commit -a -m “footer file modified / text file removed”
The result:
[master 6c4115d] footer file modified / text file removed

 2 files changed, 8 deletions(-)

 delete mode 100644 file-2.txt
Note that, if a new file is added then this command won’t work. That is, the –a switch applies to files existing in the git index only.
Note: You may also use –all. Both –a and –all are equivalent.
The example of using –interactive and –patch options
In addition to the content in the index, you may use the –interactive and –patch options in the commit command for deciding one by one that which files should be part of the commit. Not only complete file but which hunks should be included in the commit can also be specified.
For example, you do not want to commit a complete code file at this stage but a few lines. In that case, you may use the –patch option. As you run commit with patch, the Git gives you a few options to choose from. For example:
$ git commit –patch
It returns the following result:
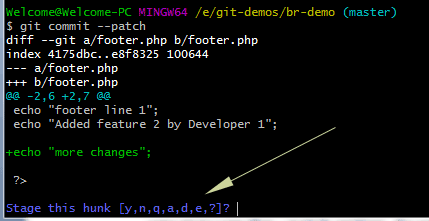
You can see, I changed the footer.php and added a new line that Git terminal shows with many options.
In the last line, it says:
“Stage this hunk [y,n,q,a,d,e,?]?”
There you may choose an option by pressing the appropriate key and then press Enter.
The meanings of a few keys are:
- y = Yes, stage this hunk for the next commit
- n = Do not hunk this for next commit
- q = Quit without staging this and next hunks
- a = All – stage this and all later hunks in this file
- e = use this option for manually editing the current hunk