
Magnifying images by using jQuery
The jZoom plug-in can be used for magnifying the part of an image that is focused. The JS file is only 9Kb while its minified version is only 2 Kb size. So, it’s a tiny plug-in that will not take much resources while enabling your visitors to see the larger view of the small image.
This particularly can be useful for scenarios where you use images that contain small text. See the following section for live demos along with how you may set up this tiny and cool plug-in on your website.
A demo of jZoom plug-in
In its simple use, just place the <img> tag with the source of the image inside a <div> tag and assign it an ID. This ID will be used in the jQuery code where jzoom() method is called without any options.

The markup for this demo:
    <section class="page" id="page3">

        <h2>A demo of magnifying images</h2>

        <div class="row">

            <div class="cell">

                <div id="magnify-demo">

                    <img src="images/PS4.png" height="250" width="250"> </div>

            </div>

        </div>

    </section>
The script:
    <script>

        $('#magnify-demo').jzoom();

    </script>
A demo with specifying a few options of plug-in
You may set a few options available in the plug-in like setting the height and width of zooming window. The relative position of the container with zoomed image can also be specified by using the position option.
You may also set the opacity of the lens. If images are big in size and it may take some time to load, you may display the custom text as the image is loading by using the loading option.
See this demo where I used a few options in the jQuery code:
Full code:
<!doctype html>
<html>
<head>
<link rel="stylesheet" href="css/jzoom/reset.css">
<link rel="stylesheet" href="css/jzoom/cv.css">
<link rel="stylesheet" href="css/jzoom/demo.css">
<script src="https://cdn.bootcss.com/jquery/2.2.0/jquery.min.js"></script>
</head>
<body>
<section class="page" id="page3">
<h2>A demo of magnifying images</h2>
<div class="row">
<div class="cell">
<div id="zoom-demo-options">
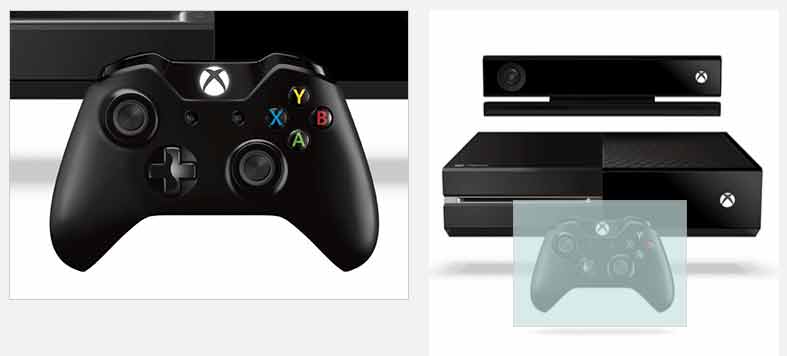
<img src="images/XboxOne.png" height="350" width="350"> </div>
</div>
</div>
</section>
<script src="js/jzoom/jzoom.js"></script>
<script>
$('#zoom-demo-options').jzoom({
position: "left",
width: 400,
height: 290,
opacity: 0.7,
bgColor: "#C7E2E2"
});
</script>
</body>
</html>
You can see, the zooming window’s background color is changed (that you hover on the part of the image). Besides, its height and width are changed as compared to above example.
How to set up jZoom plug-in
Setting up jZoom plug-in on your website is simple.
Step 1:
First of all, place the CSS files that come with the downloaded plug-in from the Github website (credit: pciapcib) in the <head> section of your webpage.
Step 2:
After the reference of jQuery library, place the jzoom.js file before calling the jzoom() method:
<script src=”js/jzoom/jzoom.js”></script>
Step 3:
Use the markup that contains images that you want to magnify. In the demo, the images are placed inside the <div> tag with ID. As mentioned earlier, the ID of the div is referred in the jQuery code for initiating the plug-in.